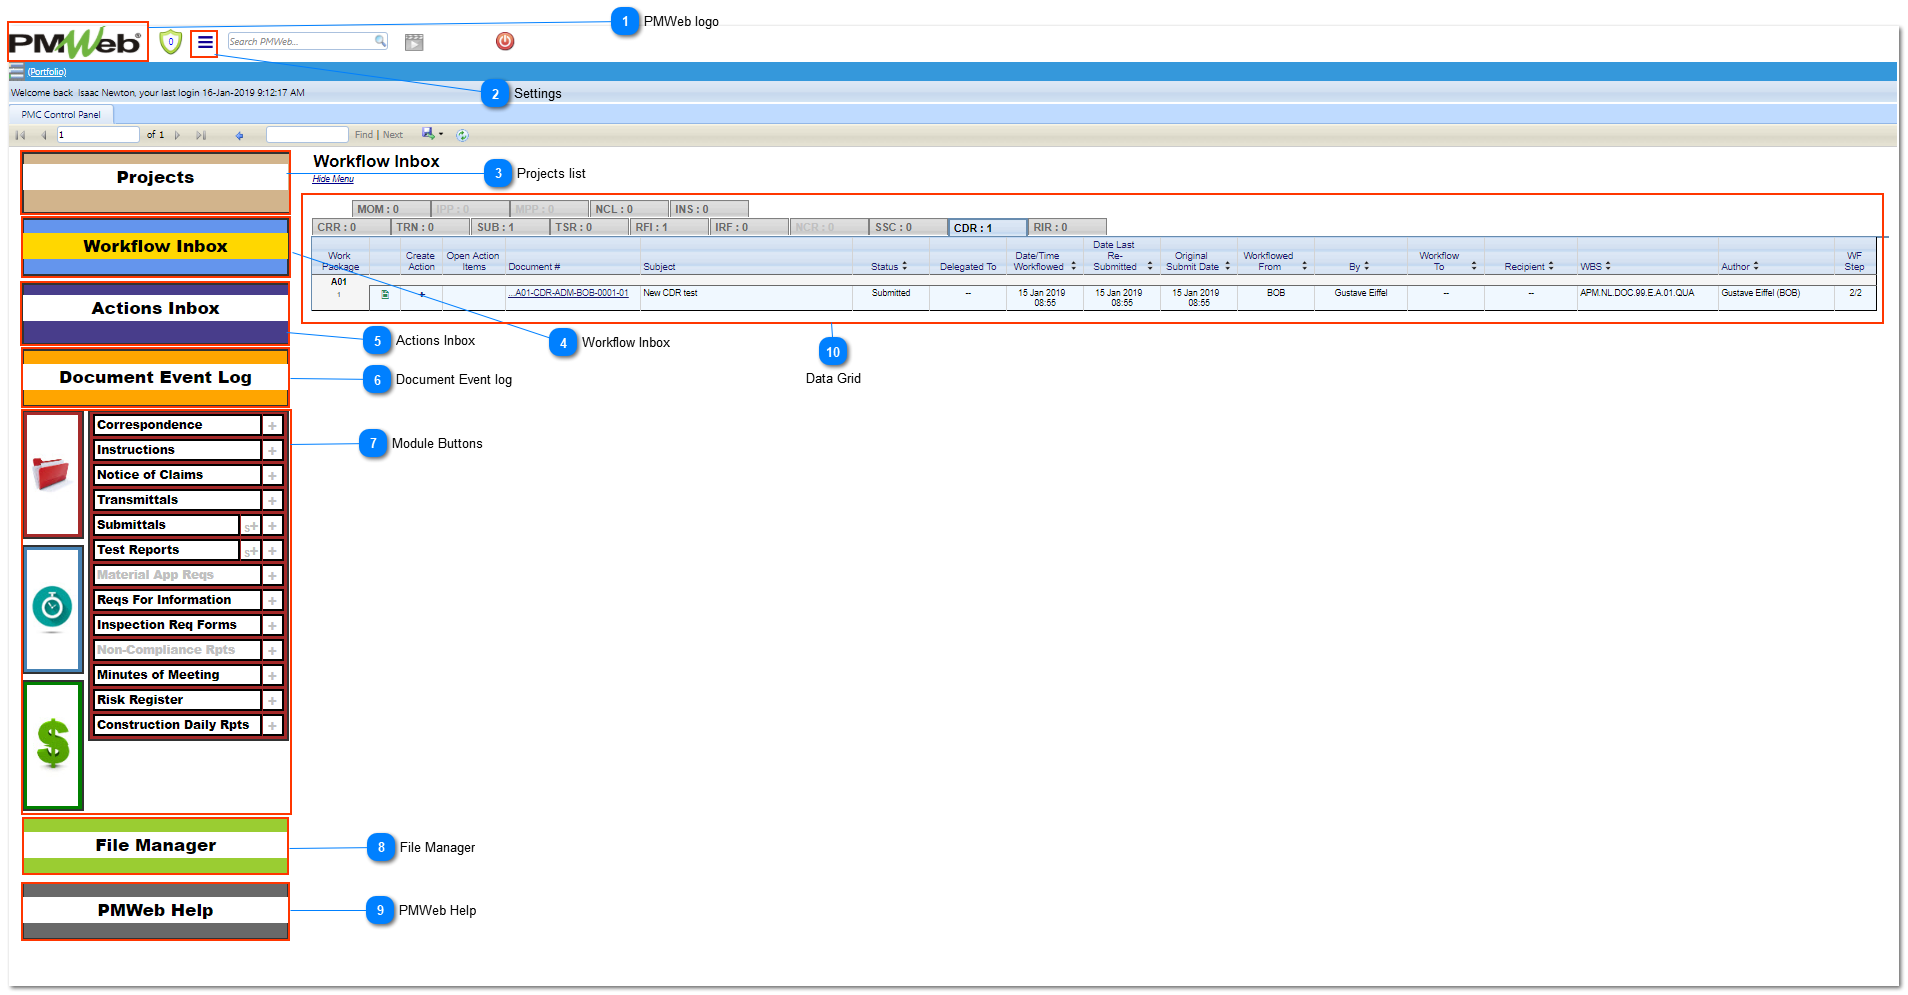
The Project button will take you to all active projects you have rights to see. For certain functionalities in PMWeb, you are required to have a project selected.
In case we have an active filter by project, this button will show the project code underneath (as you can see in the right image on the top).
Note: you can always clear the project filter by clicking in the Projects button.
The work-flow Inbox shows a list and links to All Managed Documents awaiting your attention.
All Managed Documents have a work-flow. The Work-flow Inbox shows only documents that currently have an active work-flow (i.e. they have been submitted but not yet closed). Also, the Work-flow Inbox is personal to each user. In every work-flow, users are assigned to each work-flow step. The Work-flow Inbox shows only the documents in their current Work-flow step to the users involved in that step.
Note: you can find detailed information about the Workflow Inbox here.
The Actions Inbox is a tool to facilitate assigning tasks within your own company.
It is not part of any official project documentation. Actions can only be assigned by users within their company. Actions can be viewed by the creator and assignee.
So, actions can be used to assign tasks to one another. It can also be related (and created from) received documents. This button will take you to the Action report log. It will show you all Actions created by you and actions assigned to you.
Note: you can find detailed information about the Actions Inbox here.
This section allows you to view the document workflow traffic (change of document status, e.g.: submit, approve, reject) during a certain period of time within the project.
The Document Event Log is a very useful tool to get an overview of all the official communications.
Note: you can find detailed information about the Document Event Log here.
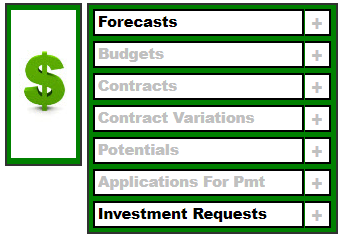
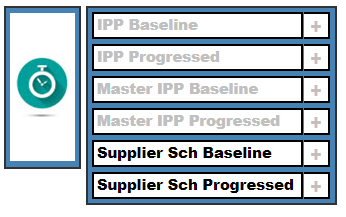
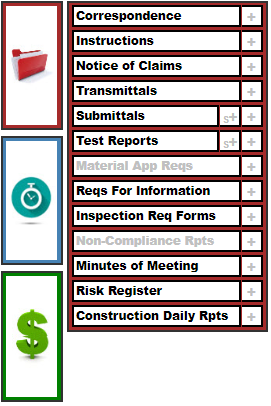
There are three modules: Document (red folder), Scheduling (blue watch) and Cost management (green dollar).
By clicking one of these, you will get the corresponding group active.
In the image above Document Management is activated and it is showing the different documents that can be viewed/created: Correspondence, Instructions...
To navigate to a specific type of Document click on the lettered area of the corresponding Document type button.
Note: Buttons with black text are Modules that are currently available; buttons with grey text are Modules that will be available in the near future.
As below you can see the Cost and Schedule modules when they are activated.
If you need to attach a file in one of your documents in PMWeb; first you are required to upload it in a repository accesible through File Manager.
Here, you can also organize and sort your folders in a tree structure within your company. This way you have all your files easily accesible if you required them in the near future.
Note: you can find more details information about the File Manager here.


 There are three modules: Document (red folder), Scheduling (blue watch) and Cost management (green dollar).